
Extending your kitchen island is a great way to add more workspace, storage, and seating to your kitchen. Whether your goal is to create a more functional cooking area, a place for casual dining, or simply to enhance the overall aesthetics of your kitchen, this guide will provide you with detailed steps and considerations to achieve your desired outcome. In this article By the Top A Mag Team, we will explore various methods and ideas when you Extend Your Kitchen Island island, including practical tips and design inspirations.
Understanding the Need to Extend Your Kitchen Island
Extending your kitchen island after you Purchase it can significantly enhance both functionality and aesthetics in your kitchen. A larger island offers additional workspace for meal preparation and cooking, making it easier to handle multiple tasks simultaneously.
It also provides extra storage options, helping to keep your kitchen organized and clutter-free. Moreover, an extended island can create a welcoming social hub, offering more seating for family and friends to gather. By understanding these needs, you can transform your kitchen into a more efficient and attractive space.
Key Takeaways
- Functional Benefits: Learn how an extended kitchen island can improve your cooking and socializing space.
- Design Options: Explore different styles and materials for extending your island.
- Step-by-Step Guide: Understand the process of planning, designing, and building your kitchen island extension.
Benefits to Extend Your Kitchen Island
Increased Workspace
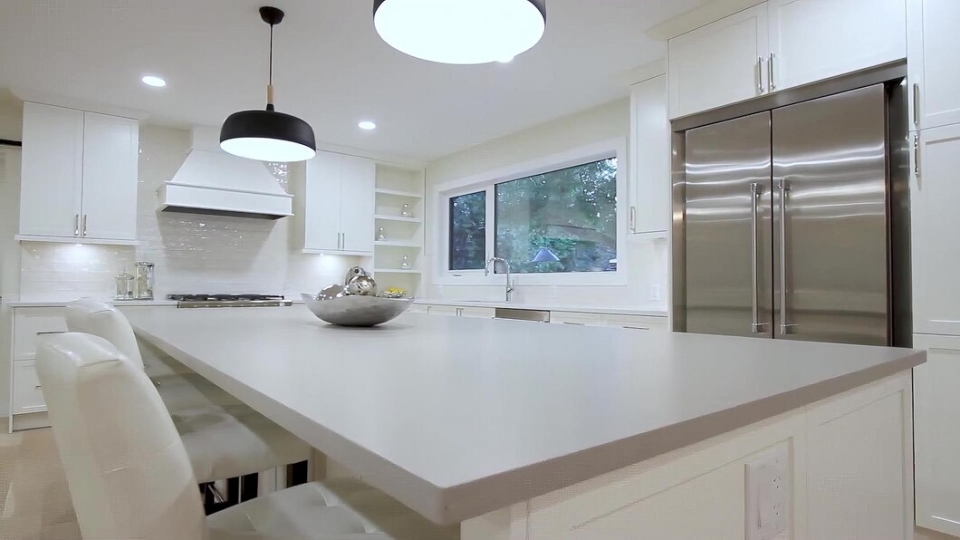
One of the primary reasons to extend a kitchen island is to gain more workspace. An extended island provides additional room for meal preparation, cooking, and even baking. This can be particularly beneficial for larger families or those who enjoy hosting gatherings and need more surface area to accommodate multiple activities simultaneously.
Enhanced Storage
Extending your kitchen island can also offer more storage options. You can add cabinets, drawers, and shelves to store kitchen essentials, from utensils and cookware to pantry items and small appliances. This added storage can help keep your kitchen organized and clutter-free.
Additional Seating
Another advantage of a larger kitchen island is the potential to add seating. By extending the island, you can create a breakfast bar or a casual dining area where family and friends can gather. This not only makes your kitchen more versatile but also promotes social interaction while cooking or entertaining.
Improved Aesthetics
An extended kitchen island can significantly enhance the overall look of your kitchen. With the right design and materials, you can create a focal point that complements your kitchen’s style and adds visual appeal. Whether you prefer a modern, rustic, or traditional look, there are plenty of design options to suit your taste.
Planning to Extend Your Kitchen Space
Assess Your Space
Before you start planning your kitchen island extension, it’s essential to assess the available space. Measure your kitchen area to determine how much room you have for the extension.
Consider the layout of your kitchen and how the extended island will fit into the existing design. Ensure that there is enough clearance around the island for easy movement and accessibility.
Determine Your Needs
Think about the primary purpose of your extended island. Do you need more workspace, storage, seating, or a combination of these?
Identifying your needs will help you decide on the size and design of the extension. For example, if you require more seating, you may want to extend the island to accommodate bar stools or chairs.
Set a Budget Required to Extend Your Kitchen Island
Establishing a budget is crucial when planning any home improvement project. Determine how much you are willing to spend on your kitchen island extension.
Consider the price of materials, exertions, and any additional capabilities you want to consist of. Setting a finances will help you make informed choices and keep away from overspending.
Choose a Design
Selecting the right design for your kitchen island extension is key to achieving a cohesive and functional space. Consider the style of your kitchen and select a layout that matches and enhances it.
You can opt for a seamless extension that matches the existing island or create a contrasting look with different materials or colors. Some popular design ideas include:
- Waterfall Edge: A sleek, modern design where the countertop extends down the sides of the island.
- Butcher Block: A rustic and practical option, ideal for those who love to cook and need a durable workspace.
- Multi-Level: An island with varying heights, providing different zones for cooking, dining, and working.
- Peninsula: An extension that connects to a wall, creating a peninsula layout for more space.
Extend Your Kitchen Island: Step-by-Step Guide

Step 1: Gather Materials and Tools
Once you have a clear plan and design in mind, gather all the necessary materials and tools. Depending on your selected layout, you want:
- Countertop material (e.g., granite, quartz, butcher block)
- Cabinets or base units
- Screws and nails
- Wood glue
- Sandpaper
- Paint or stain (if applicable)
- Tools such as a saw, drill, screwdriver, and level
Step 2: Prepare the Existing Island
Before you begin the extension, prepare the existing island by removing any items and cleaning the surface. If you’re adding cabinets or base units, ensure they are securely attached to the existing island. You can also want to sand down any tough edges or surfaces to ensure a smooth transition between the vintage and new sections.
Step 3: Build the Frame
Construct the frame for the extension using sturdy wood or metal. Ensure that the frame is level and securely attached to the existing island. If you’re adding cabinets or base units, this is the time to install them. Use screws and wood glue to reinforce the structure and ensure stability.
Step 4: Install the Countertop
Once the frame is in place, install the countertop. Depending on the material and thickness of your countertop, you may need to cut it to size using a saw. Ensure that the countertop is securely attached to the frame and aligned properly. If you’re using a heavy material like granite or quartz, you may need additional support brackets.
Step 5: Add Finishing Touches
After the countertop is installed, add any finishing touches to complete the look. This may include sanding down rough edges, applying paint or stain, and installing hardware such as drawer pulls or cabinet handles. Ensure that all surfaces are smooth and free of any imperfections.
Step 6: Final Inspection
Before you start using your extended kitchen island, conduct a final inspection to ensure everything is secure and functional. Check for any loose screws or wobbly parts and make any necessary adjustments. Once you’re satisfied with the result, your extended kitchen island is ready for use!
Consider Ideas

Modern Minimalist
For a sleek and contemporary look, consider a modern minimalist design. Use clean lines, neutral colors, and materials like quartz or stainless steel for a polished finish. Incorporate hidden storage solutions to maintain a clutter-free appearance.
Rustic Charm
If you prefer a warm and inviting atmosphere, a rustic design might be ideal. Use natural materials like wood or stone and incorporate open shelving or farmhouse-style cabinets. A butcher block countertop can add to the rustic charm and provide a practical workspace.
Coastal Vibes
For a light and airy feel, opt for a coastal-inspired design. Use light colors like white, blue, or aqua, and incorporate natural textures like wicker or rattan. A marble or granite countertop can add a touch of elegance while maintaining a beachy vibe.
Industrial Chic
An industrial design can add a modern and edgy look to your kitchen. Use materials like concrete, metal, and reclaimed wood for a rugged yet stylish appearance. Incorporate exposed hardware and vintage-inspired lighting to complete the industrial chic look.
Frequently Asked Questions
1. How much does it cost to extend your kitchen island?
The cost of extending a kitchen island can vary widely depending on factors such as the materials used, the size of the extension, and whether you hire a professional or do it yourself. On average, a kitchen island extension can cost anywhere from $500 to $5000.
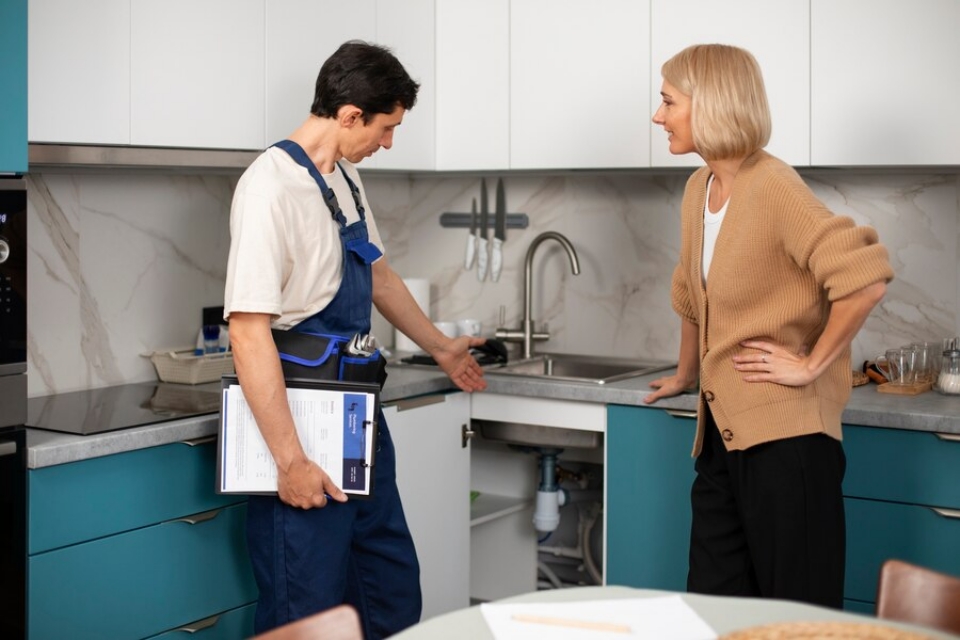
2. Can you extend Your kitchen island Yourself?
Whether you can extend your kitchen island yourself depends on your level of DIY experience and the complexity of the project. If you have basic carpentry skills and the necessary tools, you might be able to handle a simple extension. For more complex designs or if you lack experience, it’s advisable to hire a professional.
3. What materials are best for a kitchen island countertop?
Popular materials for kitchen island countertops include granite, quartz, butcher block, and marble. Each material has its pros and cons. For example, granite and quartz are durable and low-maintenance, while butcher block provides a warm, rustic look but requires regular maintenance.
4. How can I ensure my kitchen island extension matches my existing kitchen decor?
To ensure your kitchen island extension matches your existing decor, choose materials and colors that complement your current kitchen design. Consider matching the countertop material, cabinet style, and hardware to create a cohesive look. You can also incorporate design elements like trim or molding to tie the new and existing sections together.
5. What are some creative ways to add seating to my extended kitchen island?
There are several creative ways to add seating to your extended kitchen island. You can install a raised countertop section to create a bar area, use overhangs to accommodate bar stools or add a built-in bench or banquette seating. Consider the height and layout of the seating area to ensure comfort and functionality.
Conclusion
Extending your kitchen island is a fantastic way to enhance the functionality and aesthetics of your kitchen. By following the steps outlined in this guide and considering the various design options, you can create a space that meets your needs and complements your style. Whether you want more workspace, storage, seating, or simply a new look, an extended kitchen island can transform your kitchen into a more efficient and inviting area. Happy remodeling!